
As you probably already know, site speed is a factor in SEO. Especially with mobile first ranking, you want your site to be super fast (and that’s why I switched almost all my sites over to WPX hosting). Images can take up a lot of space which means longer load times for your site.
In rare cases, I’ve even seen people soar to the top of the rankings because they had optimized images that were previously slowing them down.
So keep reading as I’m going to show you how I optimize my WordPress images with TinyPNG.
Using TinyPNG
TinyPNG is my go-to tool for image optimization. I’ve been doing things manually with them by uploading images to their online tool. You can even see how much space you can save by using their analyzer.
But lately, I’ve been experimenting with optimizing images using their WordPress plugin. I’ll show you how to do both ways.
Optimizing Images Manually
Optimizing images manually make take a little more work than using a plugin, but it’s free and gives you unlimited uploads. You can still upload images in bulk. This is actually my preferred method since I like to keep things simple.
- Head over to TinyPNG.com
- Drag your images inside the upload area
- Download your optimized images!
- (and upload them to your site of course)
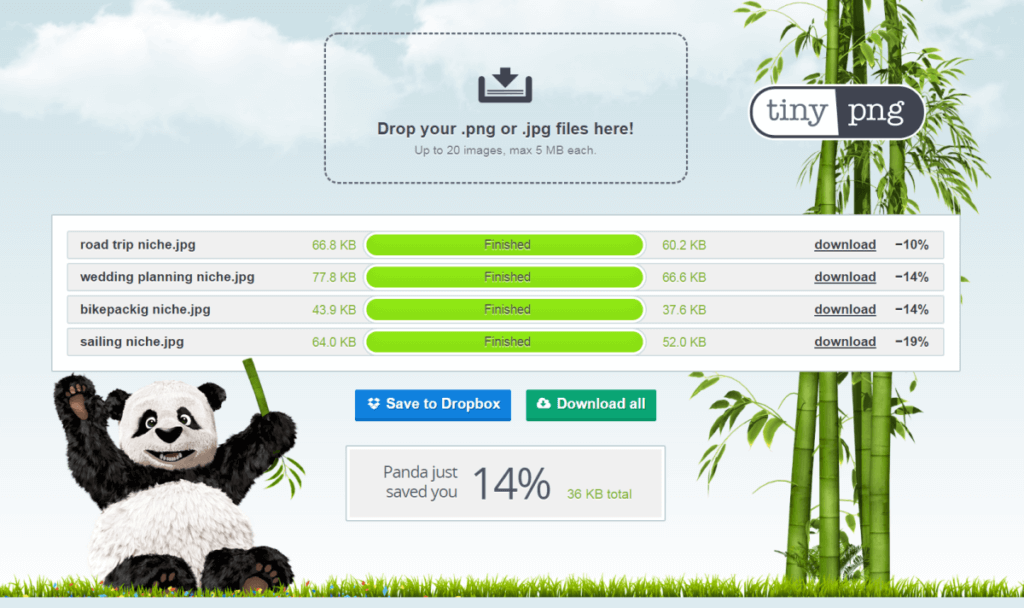
Tip – You can even optimize the same image more than once and continue to save space. This is good for heavier images but does start to degrade the quality ever so slightly each time.
Optimizing Images With Plugin
If you want to optimize your images automatically or optimize existing images in bulk, you can use the TinyPNG WordPress plugin.
Getting the plugin ready to go
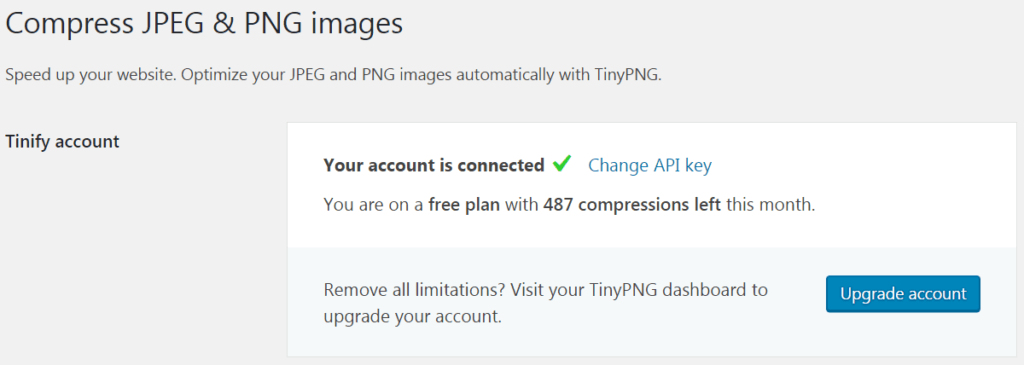
- Install the ‘Compress JPEG & PNG images’ by TinyPNG
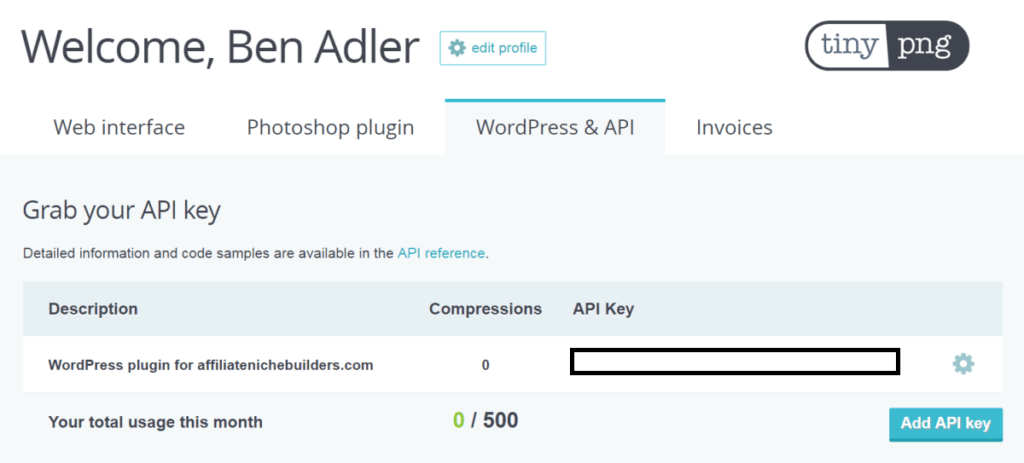
- When you install and activate the plugin, it will bring you to the settings page. Here, you’ll need to create an account and register your API key (links inside the settings page)
- Once you create an account, get your API key and activate it
Optimizing existing images in bulk
And if you want to bulk optimize your existing images, you can do that too.
- Head over to your Media Library
- Select Bulk Optimization
- Click ‘Bulk Optimization’
Here’s a before and after:
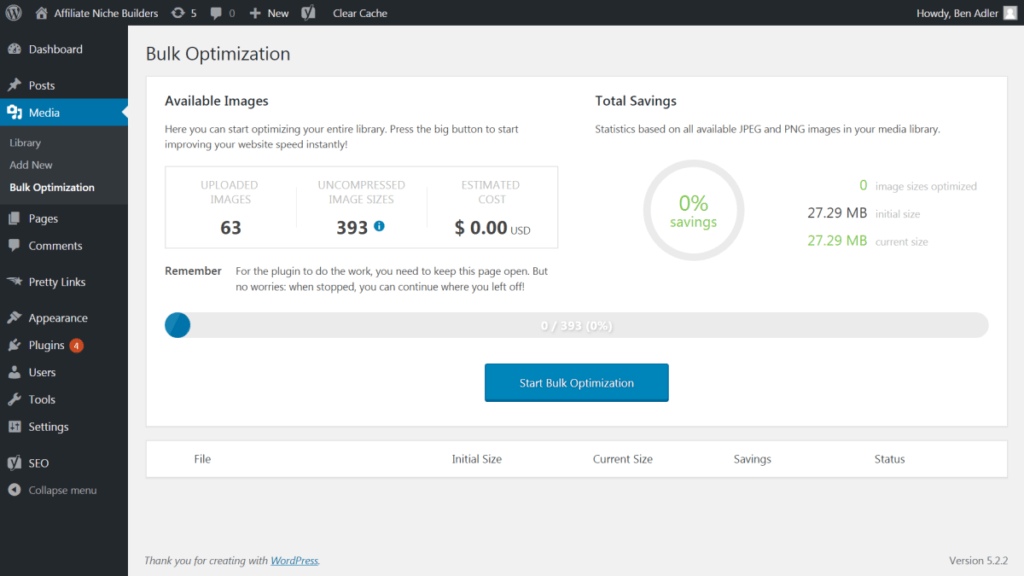
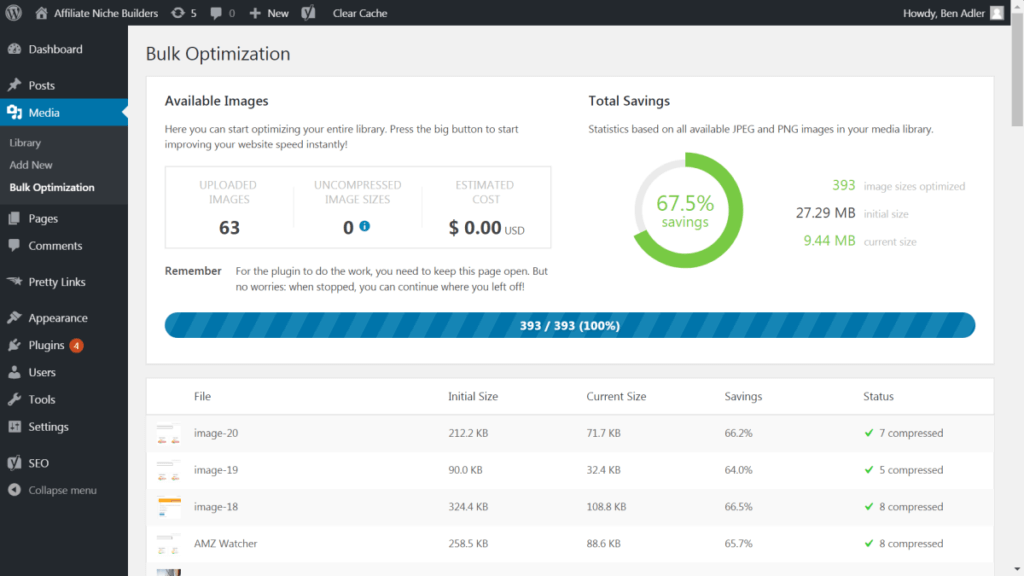
Remember, a single WordPress upload takes up images because there are different sizes. So when you go to optimize an image, you’ll really be optimizing multiple images for each size.